Motor and servo control with Arduino
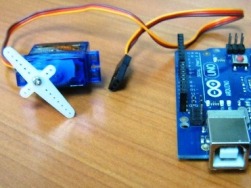 In simple designs of automation systems, it is often necessary not only to read the readings of sensors, but also to set in motion mechanisms. For this, a variety of electric motors are used. The simplest and most popular option is a DC motor. He won the love of lovers with his accessibility, ease of speed adjustment. If the task is to move any mechanism to a given angle or distance, it is convenient to use a servo drive or a stepper motor.
In this article, we look at servos and small DC motors, connecting them to an Arduino board, and adjusting the DCT. The most common electric motor that is used in portable devices, toys, radio-controlled models and other devices. Permanent magnets are fixed on the small electric motor on the stator, and a winding on the rotor. Current is supplied to the winding through the brush assembly. Brushes made of graphite, sometimes found ...
How to safely manage a 220 volt load using Arduino
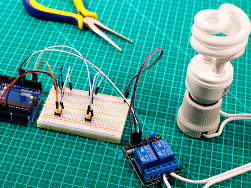 For the Smart Home system, the main task is to control household appliances from a control device, be it an Arduino type microcontroller, a Raspberry PI type microcomputer or any other. But to do this directly does not work, let's figure out how to manage the 220 V load with Arduino.
To control AC circuits, the microcontroller is not enough for two reasons: at the outputmicrocontroller a constant voltage signal is generated, the current through the pin of the microcontroller is usually limited to 20-40 mA. We have two options for switching using a relay or using a triac. The triac can be replaced by two thyristors turned on in parallel (this is the internal structure of the triac). Let's take a closer look at this.The thyristor works as follows: when a forward bias voltage is applied to the thyristor (plus to the anode, and minus to the cathode), no current will pass through it ...
Connecting analog sensors to Arduino, reading sensors
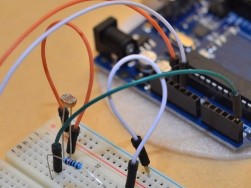 Sensors are used to measure quantities, environmental conditions, and reactions to changes in states and positions. At their output, there may be both digital signals consisting of ones and zeros, and analog ones consisting of an infinite number of voltages in a certain interval.
Accordingly, the sensors are divided into two groups - digital and analog. To read digital values, both digital and analog inputs of the microcontroller can be used, in our case, the ATS on the Arduino board. Analog sensors must be connected through an analog-to-digital converter (ADC). ATMEGA328, which is installed on most ARDUINO boards, contains an integrated ADC in its circuit. As many as 6 analog inputs are available to choose from. If this is not enough for you, you can connect it to digital inputs using an additional external ADC ...
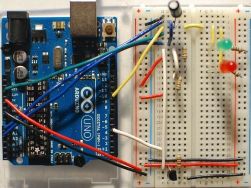 Among the entire variety of Arduino boards, it is difficult for a beginner to choose the right one. In addition to official boards, such as Arduino UNO, Nano, MEGA, there are also Arduino-compatible boards, such as Digispark, Electronic Troops, Seeeduino, Freeduino, Robocraft and others. What is their difference and which Arduino board to choose? Let's figure it out!
Perhaps this characteristic is on a par with such as: memory size, clock frequency and type of microcontroller used. Arduino clone boards can be divided similar to Arduino UNO, MEGA, and other baseboards. The most common is UNO; in fact, most clones are associated with it. Compatibility with shields is provided by arrangement of terminal blocks and PCB layout.The size of the original UNO board is 6.9x5.3 cm, the dimensions of third-party boards may vary, but the location of the terminal blocks and the distance between the connectors ...
19 shields for Arduino for all occasions
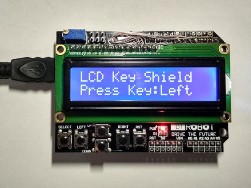 Shield is a supplement board. I propose to divide the shields into full-size and separate modules. Full-sized with their outlines, they repeat the shape of the Arduino board, whether it be UNO, Nano or MEGA. Separate modules are free-form cards designed to perform a specific set of functions. Both that and others can be both universal, and for performance of narrowly targeted tasks.
In stores you can find a great many shields, and with a certain qualification you yourself can breed a printed circuit board that repeats the arduine in the shape and location of the terminals and assemble your own unique one. The picture shows the Arduino UNO board with a set of shields. Let's start with the shield, which does not carry any special functions, but was created for the convenience of installing your projects. So, the first in our review will facilitate the installation of projects with the Arduino Nano board, though the sense of the small size of "NANO" in this case is zero ...
Features connecting devices to Arduino
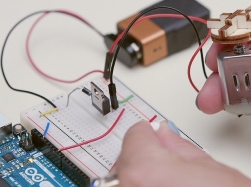 The platform for fans of robotics and automation Arduino is famous for its modular design and ease of operation. Sometimes I come across an advertisement where they say that you can assemble your robot without practically being familiar with electronics. But it is not so. If some actuators and mechanisms are incorrectly connected, you can burn the ports of the arduino. And if you do not know how to handle digital devices - at best you simply will not be able to establish a connection.
To learn about the features of the connection, power supply voltages, logic levels, etc. you need to familiarize yourself with the datasheet on your module. Datasheet or datasheet is the technical documentation for the product. Such documentation can be downloaded to any chip or sensor. Usually they are on the manufacturer’s website. Moreover, there are special resources on the network ...
How not to burn Arduino - tips for beginners
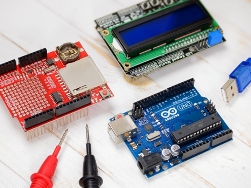 Microcontrollers are, first of all, devices for control, monitoring and data processing, but not for work in power circuits. Although modern chips are quite developed in terms of the presence of various protections against accidental damage in the electrical part, nevertheless, there are dangers awaiting a beginner radio amateur at every step.
How to work safely with arduino? This is the main question of the article. Consider both the electrical hazards for the microcontroller, and for the entire board and its components as a whole, as well as harmful factors of mechanical origin. You can write a book about the internal structure of microcontrollers, so we will only consider the main points that you need to pay attention to when working. Microcontrollers are sensitive to both currents and voltages. Emergency operating modes are permissible only for a short time, or are unacceptable in general ...
Types and arrangement of AVR microcontrollers
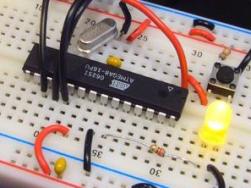 AVR is the name of the popular Atmel family of microcontrollers. In addition to ABP, microcontrollers (hereinafter MK) and other architectures, for example, ARM and i8051, are produced under this brand. There are three types of microcontrollers AVR 8-bit, AVR 32-bit and AVR xMega.
For more than a decade, the most popular is the 8-bit MK family. Many hams began to study microcontrollers from him. Almost all of them learned the world of programmable controllers by doing their simple crafts, such as LED flashing lights, thermometers, clocks, as well as simple automation, such as controlling lighting and heating appliances. Microcontrollers AVR 8-bit, in turn, are divided into two popular families: Attiny - the name shows that the youngest (tiny - young, young, younger), mainly have 8 pins or more. The volume of their memory and functionality is usually more modest ...
