Categories: Featured Articles » Sharing experience
Number of views: 7204
Comments on the article: 0
How to replace the capacitor
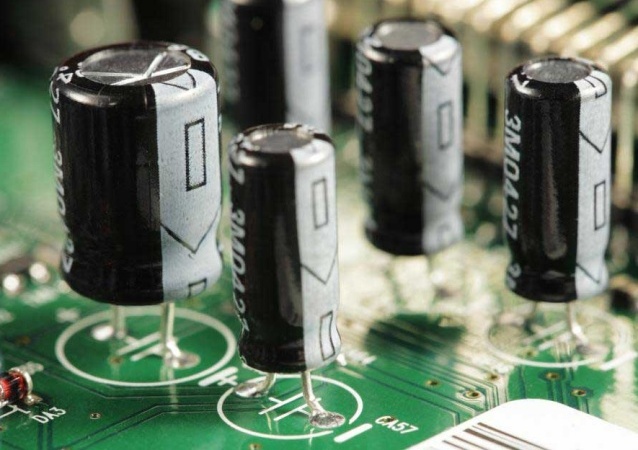
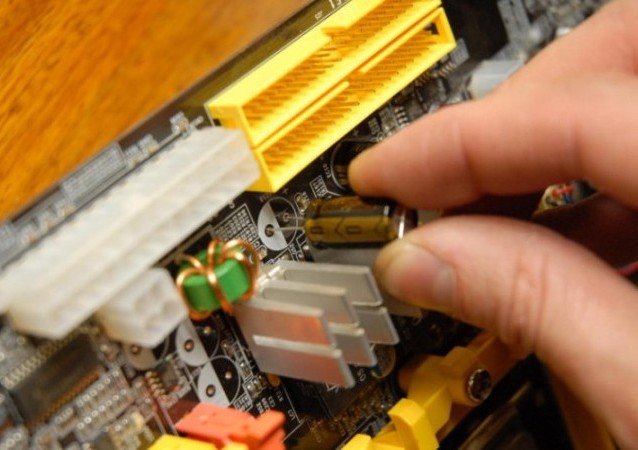
Having decided to replace the capacitor on the printed circuit board, the first thing to do is to choose a replacement capacitor. As a rule, we are talking about an electrolytic capacitor, which, due to the exhaustion of its working resource, began to create an abnormal mode for your electronic device, or the capacitor burst due to overheating, or maybe you just decided to put capacitor newer or better.

Choosing a suitable replacement capacitor
The parameters of the replacement capacitor must certainly be suitable: its rated voltage should in no case be lower than that of the replaced capacitor, and the capacitance should not be lower, or it may be 5-10 percent higher (if this is permissible in accordance with the known circuit of this device) than it was originally.
Finally, make sure that the new capacitor fits the size that its predecessor will leave. If it turns out to be slightly smaller in diameter and height - it’s not scary, but if the diameter or height is larger - components located on the same board nearby can interfere or it will abut against the elements of the case. These nuances are important to consider. So, the replacement capacitor is selected, it suits you, now you can begin to dismantle the old capacitor.
Getting ready for the process
Now it will be necessary to eliminate the faulty capacitor from the board, and prepare a place for installing a new one here. For this you will need, of course, soldering iron, and it’s also convenient to prepare a piece of copper braid for removing solder for this action. As a rule, a power of a soldering iron within 40 W will be quite enough even if a refractory solder was originally used on the board.
As for the copper braid to eliminate solder, then if you don’t have one, it’s very easy to make it yourself: take a piece of a not very thick copper wire, consisting of thin copper veins, remove insulation from it, slightly soak with flux (You can use a simple pine rosin) - now these flux-soaked veins easily absorb solder from the legs of a soldered capacitor like a sponge.

Solder the old capacitor
First, look at the polarity of the soldered capacitor on the board: in which direction is it a minus, so when you solder a new one, there is no mistake with polarity. Usually the negative leg is marked with a stripe. So, when the braid for removing the solder is prepared, and the soldering iron has already been warmed up enough, first lean the braid against the base of the one of the legs of the capacitor that you decided to free from the solder first.
Gently melt the solder on the leg directly through the braid, so that the braid also warms up and quickly pulls the solder into itself from the board. If the solder on the leg is a bit too much, move the braid as it fills with solder, collecting all the solder from the leg on it so that the leg eventually remains free of solder. Do the same with the second leg of the capacitor. Now the capacitor can be easily pulled out with your hand or tweezers.
Solder a new capacitor
The new capacitor must be installed in accordance with the polarity, that is, the minus leg to the same place where the minus leg of the soldered was. Usually on the body of an electrolytic capacitor the minus is indicated by a strip, and the plus leg is longer than the minus one. Treat the condenser legs with flux.
Insert the capacitor into the holes. No need to shorten the legs in advance. Bend the legs slightly in different directions so that the capacitor holds well in place and does not fall out.
Now, warming up the leg near the board itself with the tip of the soldering iron tip, bring the solder to the leg with your jab so that the leg is wrapped, moistened, surrounded by solder. Do the same with the second leg.When the solder cools down, you will have to shorten the legs of the capacitor with wire cutters (to the same length as the neighboring parts on your board).
See also at bgv.electricianexp.com
:
