Categories: Featured Articles » Autonomous power supply
Number of views: 5055
Comments on the article: 0
Installation, connection of solar panels and their installation on the roof
The photovoltaic converter (solar module, photovoltaic module, solar panel) is a kind of tablet of square or rectangular shape, consisting of a light frame (for frame construction) and, in fact, the working surface. The sizes of the converters can be very different, for example: 285 x 425, 455 x 995, ... 560 x 1180, 805 x 1575 ... and depend on the purpose of use. Their power is also diverse: from 30 watts to 165 watts or more.
For private households, converters with a power of 60 W, 70 W, 80 W, 120 W with sizes of 560 x 1180, 805 x 1575 are more popular because the process of installing them, for example on the roof, does not require much effort and attracting lifting and transport mechanisms. Owing to their technical characteristics, they are optimal from the point of view of the ratio of area - rated power. This is important for choosing the area of their working placement.

In central Russia, the flux density of solar radiation on a sunny summer day is from 700 to 800 W per square meter of area (at 20 ° C environment). The efficiency of solar modules is 14 - 16%, that is, an 80-watt module with dimensions of 560 x 1180 will provide approximately 80 watts of electrical power.
The module does not have mechanical moving units, and this favorably affects its practicality in operation. Scheduled preventative maintenance is minimized. The term of operation reaches 20-30 years.
The traditional design of the modules provides options: 12 V, 24 V. To obtain other standard voltage levels and the required power, the individual modules are respectively switched into batteries. They can be switched sequentially, in parallel and sequentially - in parallel.
The working position of the modules should be selected so that the sun's rays are directed relative to the working surface at an angle close to 90 °. In this case, the efficiency of the module will be maximum. In cases of private use, it is not advisable to build devices for automatically tracking the movement of the sun (the principle of a sunflower), but in industrial installations, when generating a large amount of energy, it is cost-effective and gives a tangible positive result.
Connecting solar panels is not a complicated procedure, but you should still follow some connection sequence and do not forget the safety precautions. Firstly, batteries are mounted, usually at a height, most often on the roof. This in itself is a danger. Secondly, remember!?, Solar panels are a source of electrical energy and are ready to perform their function at any time, regardless of whether you expect it or not.

Connecting solar panels to the earth
The first and unconditional rule, which applies not only to solar panels, but installation work at altitude, in general. All that is possible to do and prepare below - do below. What you can easily accomplish on earth is five times more difficult for you to do at height.
To start the connection, cover the working surface of the solar panels with a thick cloth or paper and fix them on the batteries, for example, masking tape. This must be done immediately in order to prevent accidental short-circuiting of the conclusions that you have to make.
I want to make a reservation right away. Despite the fact that in any installation of electrical circuits, additional contacts should be avoided in order to minimize the likelihood of failure. Any additional contact sooner or later weakens, and if you do not restore it in time, a failure (breakdown) is inevitable.But in this case, I strongly recommend drawing conclusions from each solar battery of exactly such a length that it would be enough to bring them inside the room and already inside (under the roof) install a set of terminal clamps for switching the batteries as required by the scheme.
I advise you to do this so that at any moment of time, in any weather, you can, if necessary, perform a commutation. It will also allow, being under the roof of the house, to check the operability of each of the batteries, to make measurements, if necessary, etc.
You can make conclusions either two-core flexible cable, for example, KG, or with wire PV3 but be sure to protect it from mechanical damage and direct sunlight with a corrugated resistant to sunlight. Cable, too, if you choose not in a sun sheath, consider covering it from the sun. This will extend its life. Do not spare the cross section - choose a minimum of 4 square meters. mm, better than 6 square meters. mm of copper.
After you have closed the working surface of the solar panels and made the necessary conclusions, the time has come to take care of fixing them on the roof. There are several ways to do this, but the three installation requirements remain unchanged:
-
Choosing a roof placement,
-
Angle selection,
-
Possibility of natural cooling.
The location of solar panels on the roof should be chosen so that throughout the daylight their working surface or part of it is not shaded, that is, they need to choose a completely open place.
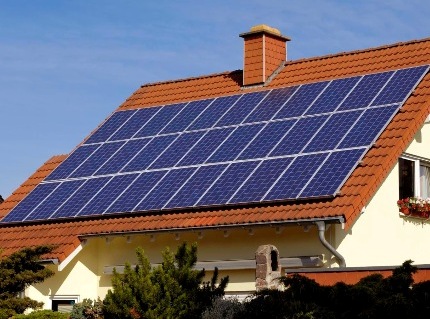
The inclination of solar panels should provide a perpendicular directivity of sunlight to the working surface. In summer it is 30 degrees to the horizon, in winter - 60 degrees. At such angles, the return on solar panels will be maximum.
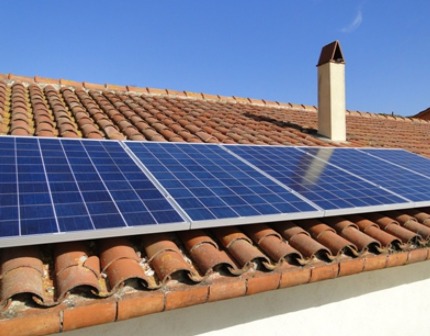
Understanding that when solar panels are heated, their efficiency decreases, it is imperative to provide for air gaps between the roof and the back of the batteries for natural ventilation. This item applies to cases where the roof slope already provides an angle of orientation of the batteries to the sun and they are mounted parallel to the existing roof covering on the roof itself.
Despite the fact that you have closed the working surface of the solar modules, insulate the ends of the terminals with insulating tape. God saves man, who save himself.
On this preparatory work on connecting solar panels is completed and you can move to the roof.

Installation of solar panels on the roof
After the preparation that you have done below, the further work is obvious and simple. But at some points, I think, attention should be paid.
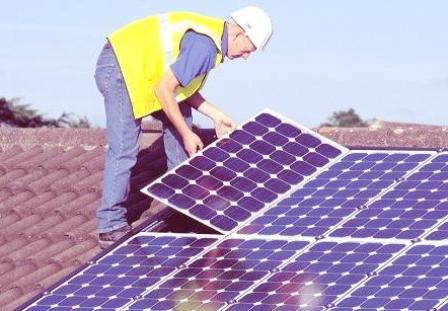
First and foremost, do not start roofing work alone. Even if it is not possible to attract a less qualified assistant, at least, but another person should participate in the work.
On the roof you will need a rope with which you lift the solar panels and the necessary tools.
When attaching the frame for solar panels, consider possible gusty winds, rain, snow. Mounting should be triple margin of safety. This is dogma, no less.
After fixing the frame and solar modules, lead the leads into the room and connect the solar panels to the already installed set of terminal clamps. Now you can open the working surface of the batteries and take measurements with a voltmeter. Make sure the connection is correct.
Connecting solar panels, as you have seen, is not such a difficult task. The main thing in strict sequence and performing all safety measures step by step to do all of the above actions and the most time-consuming installation work solar power station for home will be completed by you.
Boris Tsupilo
See also at bgv.electricianexp.com
:
