Categories: Electrician at home, Electric installation work
Number of views: 22136
Comments on the article: 0
Installation of wiring for repairs in the apartment - what is needed for this and the main stages of work
When repairing an apartment, special attention should be paid to competent wiring. If you miss this moment, a lot of inconvenience may appear, such as a shortage of outlets or their placement behind furniture, too few lighting fixtures or an incorrect lighting scheme. It does not matter whether you do the repair of the wiring yourself or hired specialists - these tips will be useful to you in any case.
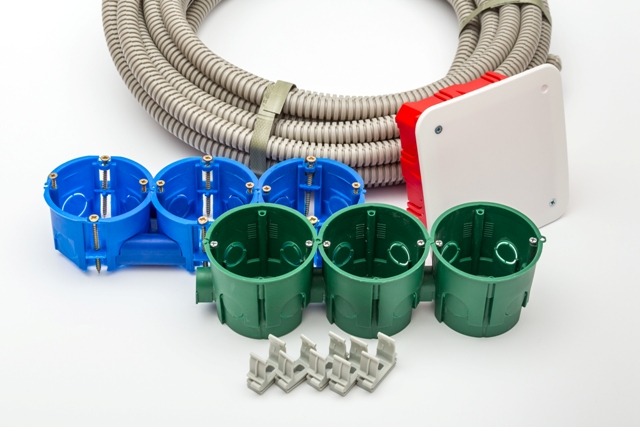
Wiring Repair Steps
First stage it should be estimated: how many electrical appliances will be powered in the room. Then you can find out the exact number of outlets. This should be done when you have already made a plan for future repairs and know the approximate location and dimensions of the furniture.
Next, you need to decide where the working area will be, and where the recreation area is - it is also necessary for the distribution of outlets and not only. In this matter, an important role is played by lighting.
For any room, a universal and convenient solution has always been a combined lighting scheme, when the entire room is illuminated by a multi-track chandelier or a group of spotlights, and local additional equipment is installed in places where visual work will be carried out, for example, Light source. In the recreation area, it is also worth providing a sconce with diffused light or directional, for convenient reading of books.
Lighting design issues are complex and require deep immersion. If you have the skills to work with computer-aided design systems, I recommend that you turn to the DiaLUX program - for lighting calculation.
Everything that is described above needs to be taken into account and sketched on the floor plan, this will help in the future, and you will not forget anything.
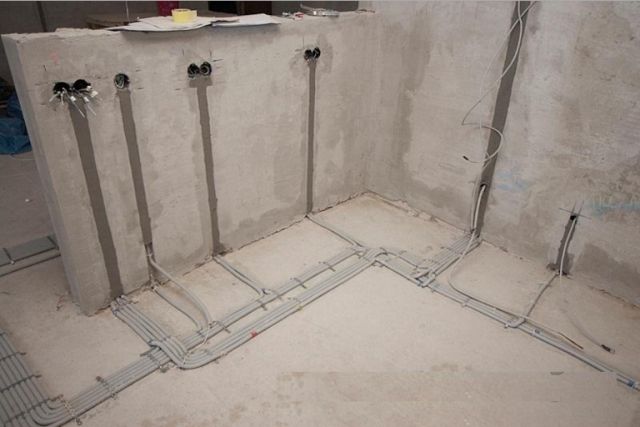
Second phase - This is an estimate of the footage of the necessary cable products. Regardless of the type of equipment connection and the method of its connection. Estimate the approximate length on the plan. If you already have a room prepared for repair - you can make it easier - draw future sockets and lamps on the walls with a marker or chalk. Find junction boxes and draw how the cables will go. It should be borne in mind that you can not conduct cables in the corners and under the ceiling, from the doors.
-
About 20 cm are indented from the ceiling;
-
From batteries, beams and metal products at a distance of at least 50 cm;
-
From the eaves - 10 cm;
-
15-20 cm from the baseboard;
-
from the corners of the walls - 10 cm.
Also note that all the turns when laying the cable are done at right angles, this approach will help to remember where the cable went when drilling the walls, if you want to hang a shelf or a picture.
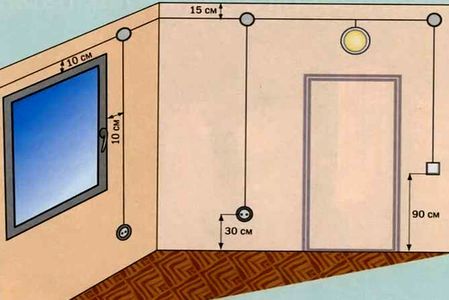
Sockets can be mounted in groups or at a distance from each other at a height of 30 cm from the floor, and switches at a distance of 90 cm from the floor, so that it is convenient to turn them on when opening doors so that it does not block them.
Next step is shtroblenie walls. This is the process of making a groove in which the electrical cable is laid and fixed. This is an important step, because if you forget to lay a line, you have to either lay the cable over the wall, in which case it is mounted in the cable channel. Or return from finishing work back to strobing - what will entail costs and that, provided that you recall this when the repair is not yet completed.
If you have a two-wire wiring diagram in your house, if there is such an opportunity, lay a three-wire wire in the walls and lead to each outlet, in case you still have grounding and the possibility of using a protective conductor. This is optional, but may be convenient.
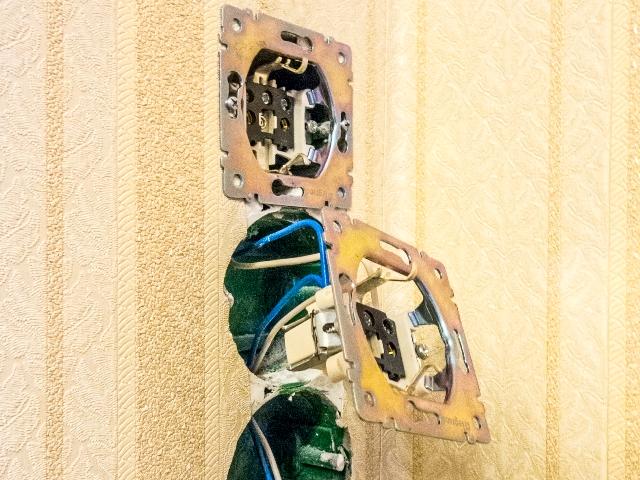
Final stage is the installation of cable, sockets and lighting devices.There are no special recommendations.
The cross-sectional area of the cable for outlets in the apartment needs at least 2.5 square meters. mm, for lighting circuits, 1.5 sq. mm
Continuing the topic:
Features of repair and modernization of wiring in a panel house
Eight golden rules for repairing apartment wiring
Ten rules affecting the reliability of wiring
What tool is needed to replace wiring in an apartment or house?
You should have the following electrician kit:
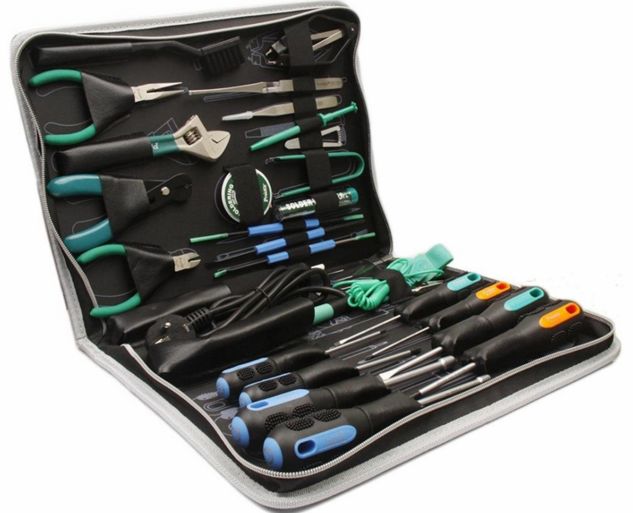
1. Indicator screwdriver, multimeter or two-wire voltage indicator. This tool is needed first of all, because your safety depends on it.
2. Pliers are needed for everything: cutting wires, cleaning them from insulation, for installing temporary twists (PUEs are prohibited on a permanent basis).
3. Stripper. It is desirable to have a tool for cleaning cables from insulation, this will protect the cores from damage.
4. A set of screwdrivers of different sizes, you will mainly need a Phillips, but possibly slotted. It is necessary to have at least two sizes each - a small diameter (width) of the working part up to 3 mm, and an average one, with a diameter up to 5-6 mm.
5. A small adjustable wrench, such as in the photo above, or a set of keys up to 15 numbers. It may come in handy when assembling an electrical panel or fixtures.
6. Puncher or chipper. Any power tool for drilling holes in the walls, drilling shtrobs under the cable, holes for installing sockets, switches and junction boxes.
In addition to this tool you need to buy:
1. Terminal blocks, e.g. WAGO, they are popular, allowed by PUEs, reliable (beware of fakes, you can’t save on this). If you will use sleeves, you need to take care of the crimping tool. You can not squeeze it with pliers - you will not get reliable contact for a long time.
2. Electrical tape.
3. Shrink.
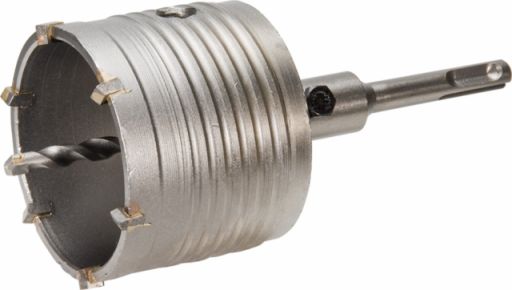
4. Crowns for drilling holes for sockets and switches. If spotlights will be mounted, do not forget to buy the appropriate nozzle for their diameter for drilling drywall.
5. Drills or discs for the strobes.
More about tools for electrical work:
Shtroborez - what is it for and how to choose it correctly
How to choose a hammer for home, garden or work
Attachments for grinder and rotary hammer for electrical work
Wiring accessories and additional equipment
In addition to cable and tools, switches and sockets are needed, their choice must be given special attention and a compromise must be found between appearance and reliability. If the switchboard is to change, it is necessary to purchase RCDs, difavtomats, circuit breakers, a large number of manufacturers are represented on the market, IEC is considered to be good. To install the sockets themselves and assemble the power supply circuit of the room, you need to purchase socket boxes and distribution boxes.
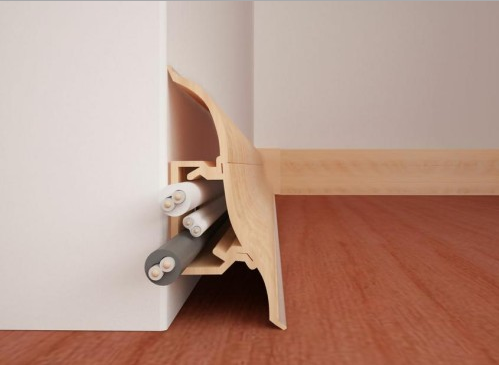
A cable channel is needed if you will install external wiring, or part of the wiring will pass outside. And for the installation of television and Internet cables, there are special skirting boards with space reserved for this.
If you have hired specialists
If you did not want to do electrical wiring with your own hands, but turned to specialists, pay attention to how they work. Do not trust the stories that they will do everything on a turnkey basis. Paying attention is how and how they work.
Take, for example, stripping cables. Nowadays, this is done with a special tool, if a person is doing this professionally, then he probably has a stripper or an electrician’s knife with a heel. Amateurs and co-workers do everything that is at hand. The photo shows a stripper and an electrician's knife.
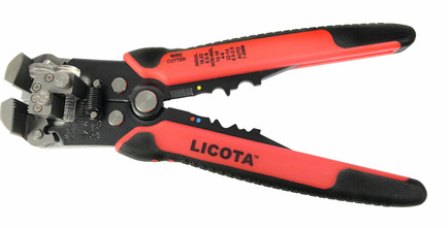

Of course, in the hands of a good master, any thing will become a tool. But improper removal of insulation worsens the condition of the cores, cuts the wires of the flexible cores and makes serifs on the monolithic cores.
The next thing you should pay attention to is the connection of the wires.You can not allow twisting in your wiring, if twisting is performed, then it must be welded or soldered. Especially if you see a twist of aluminum wire with copper - drive such an electrician.
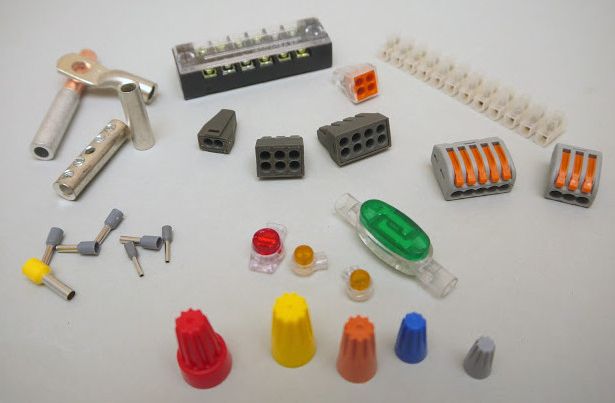
As already noted, it is now popular to make wiring using terminal blocks - their use is allowed, the use of sleeves, PPE and other products is also allowed.
Please note that the cables in the walls should not lie on each other, there should be a small gap between them. In this case, the cables must be firmly fixed in the walls and not sag.
Conclusion
Installation of electrical wiring is a responsible work that can affect the further functioning of the facility, its safety and the safety of the people who will use it. Any hackwork during installation can result in unforeseen consequences, from a malfunction of the wiring and up to a fire.
See also at bgv.electricianexp.com
:
