Categories: How does it work
Number of views: 1605
Comments on the article: 0
How the line sensor is arranged and works
Often in designs based on arduino (and not only), especially in amateur robotics, it can be useful to recognize the presence of a particular surface in the coverage area of the device or even measure the distance to it. An analog or digital line sensor will be useful for this purpose.
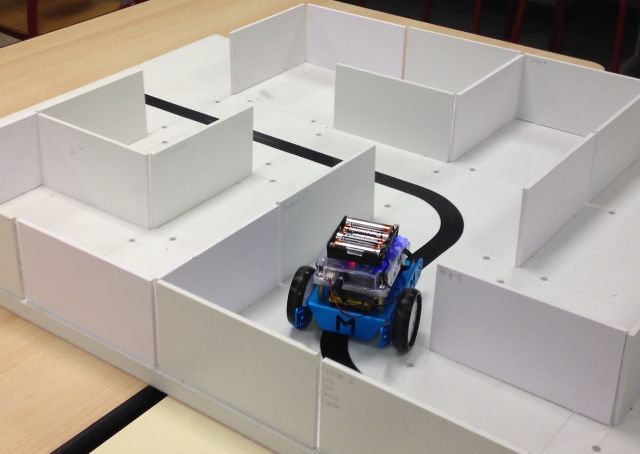
The sensor can be installed, for example, on the platform of the robot, in order to limit the area of its movement to the limits of a certain working circuit. So the robot can simply follow the line or along the line, and never go beyond the work area, or, if necessary, it will keep at a certain distance from this bounding surface.
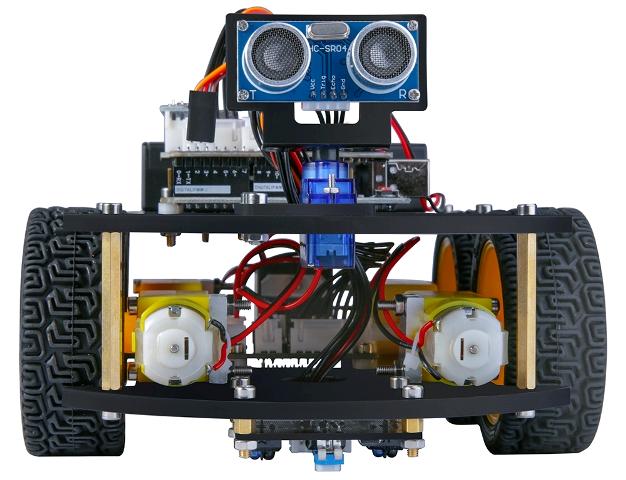
Analog line sensor
An analog line sensor can not only distinguish between black and white surfaces, it is also able to respond to other colors and their intermediate shades. In addition, the analog line sensor allows you to measure the distance to the surface of the selected color, after being pre-calibrated accordingly. With its help, it will be possible to accurately track the process of crossing the border black and white and, if necessary, control this process with a reference to distance or color.
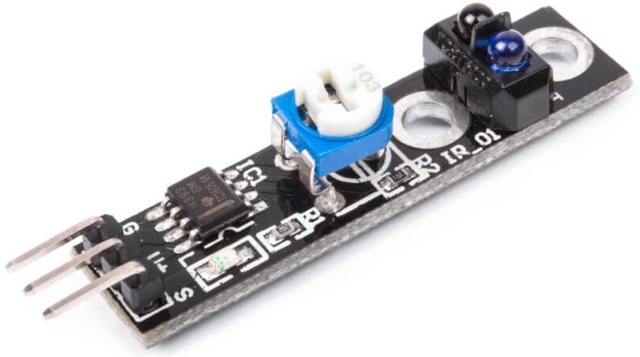
The line sensor operates in the infrared spectrum, and for accurate calibration during adjustment, there is an indicator LED on it. The sensitivity of the sensor is adjusted using a tuning resistor that allows you to change this parameter over a wide range, because depending on the type of surface and external conditions, the nature of the current lighting, etc., the sensitivity of the sensor should be appropriate.
When it receives power from the sensor, a beam of an infrared LED emitting a wavelength of 940 nm is directed to the working surface. Reflecting from the surface opposite, the beam goes back and hits the one located next to the infrared LED phototransistor NPN structure, from the collector of which a useful signal is removed.
Since the sensor is analog, the output signal will be the smaller, the lighter the surface under it or the closer it is located, that is, the developer has at his disposal the entire range of voltage values - from almost zero to almost the supply voltage. At the same time, the current consumed by the device is in the region of 10 mA at a supply voltage of 5 volts.
So, theoretically, with full reflection of the beam, the collector of the phototransistor will have a minimum voltage, and with full absorption by the surface - the maximum voltage. If the surface is further away, the voltage at the output of the sensor will be greater; if it is closer, the output voltage is less. The sensor is connected to the control electronics with three wires: common wire, power wire and signal wire.
Digital line sensor
Here, as in the analog sensor, the infrared LED emits a wavelength of 950 nm (in the infrared range). The IR beam is reflected from the surface opposite and hits the phototransistor. At the output, we get either logical 1 (high voltage) or 0 (low voltage).
The sensitivity of the sensor depends on how it is calibrated, and is related to the distance to the surface. In addition, it can be calibrated to a shade of gray or any other color, as well as to a maximum distance.
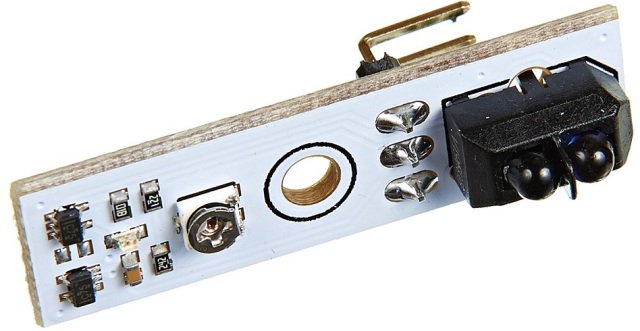
If the sensor is placed too low, then the direct infrared beam will be reflected early and will go directly back to or on the partition between the LED and the phototransistor, so there is a certain minimum distance. If the sensor is set too far, the beam will scatter prematurely before reaching back. Therefore, there is a maximum distance.
The output is digitally generated here thanks to the Schmitt inverting trigger.When the NPN phototransistor does not receive the beam, the maximum working voltage at its collector is, therefore, at the output of the sensor 0. When the beam is received, at the output 1.
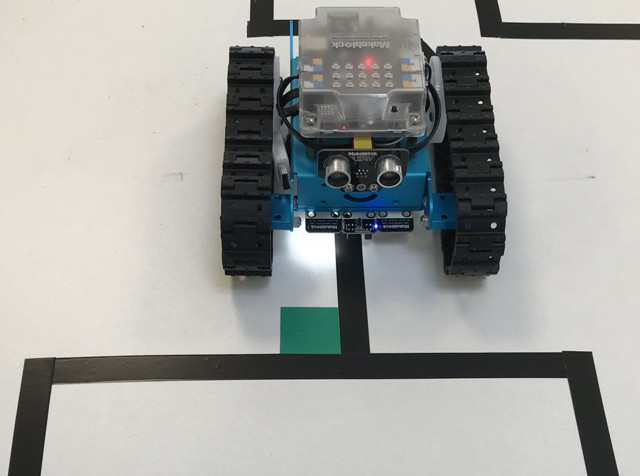
The sensor can be easily adjusted to a certain shade, or to work at a certain distance.
To calibrate (adjust the sensitivity), the tuning resistor knob is turned in one direction or another. Thus, it is possible to achieve a response only to the darkest shade or the lightest, or if the color of the obstacle opposite the sensor is unchanged - only to a distance no further than the set one.
During the setup of the sensor, you can focus on the indicator LED, which will light up when the beam is back received and its intensity corresponds to the calibration.
Features of connecting analog sensors to Arduino
A selection of the most popular sensors for Arduino
How to remotely control the microcontroller: IR remote control, Arduino, ESP8266, 433 MHz
See also at i.electricianexp.com
:
